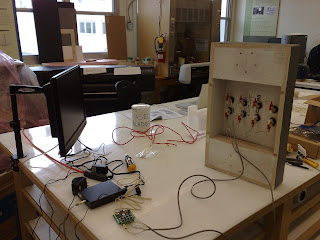
While Eric was tied up with video editing, I started wiring up the first video interactive unit. I had to teach myself how to connect components, power LEDs, crimp wire and other new skills in order to make everything work...
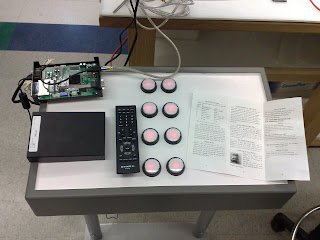
 First mock-up with scavenged wires, keypad and DV-66. While Eric worked on formatting the videos, I began learning how to wire LEDs to a power source, connecting TVs with periphery and other electronic experiments. Having never done anything like this, I welcomed the chance to try new things and work my way through a problem until it was solved.
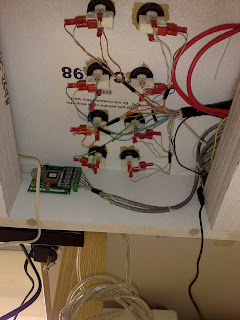
 Custom wiring job...Using scavenged wire, a few connectors, and some trial and error I wired up a power source for the LEDs using a variable voltage AC/DC Adapter at 1.5V. It resembles a bird's nest, but I made sure to colour code each switch with all of its 4 connectors. I also tried to tidy things up with some zip ties and electrical tape.
 Once the LEDs, switches and video were all working, I began switching a few settings on the player to achieve the best result for the viewer.


0 comments:
Post a Comment